Hot wallets are convenient until they are not. One malicious transaction approval, one compromised browser extension, one phishing site that looks exactly like your favorite DEX -- and your entire portfolio is gone. Solana's speed makes this worse, not better. Transactions confirm in 400 milliseconds, which means a drainer script empties your wallet before you can close the tab.
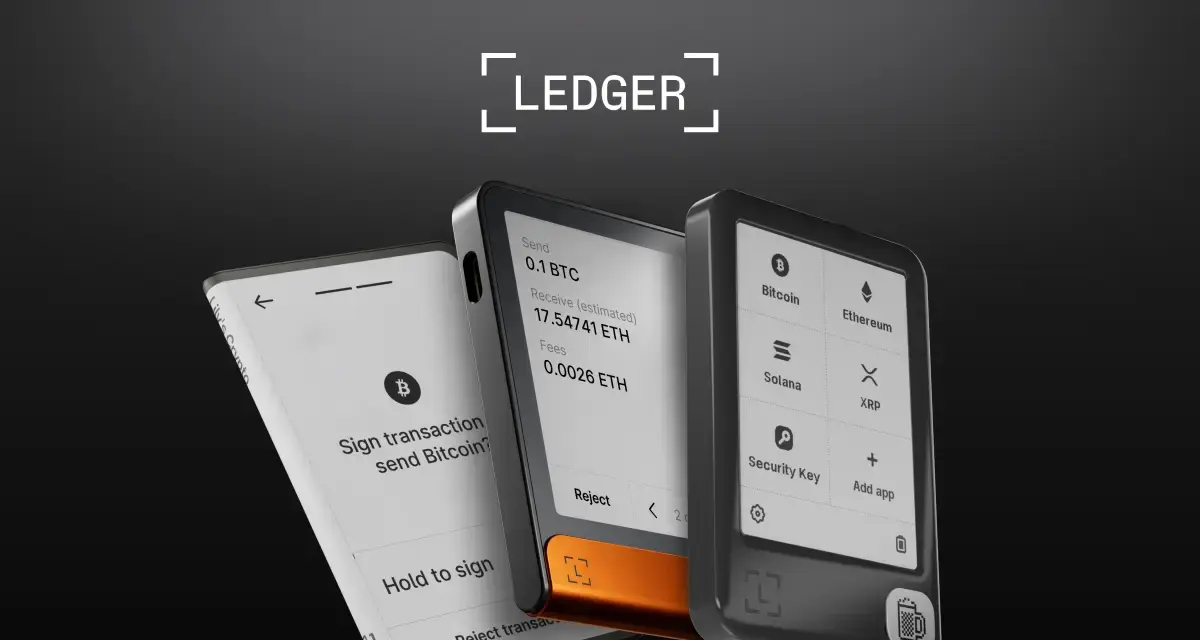
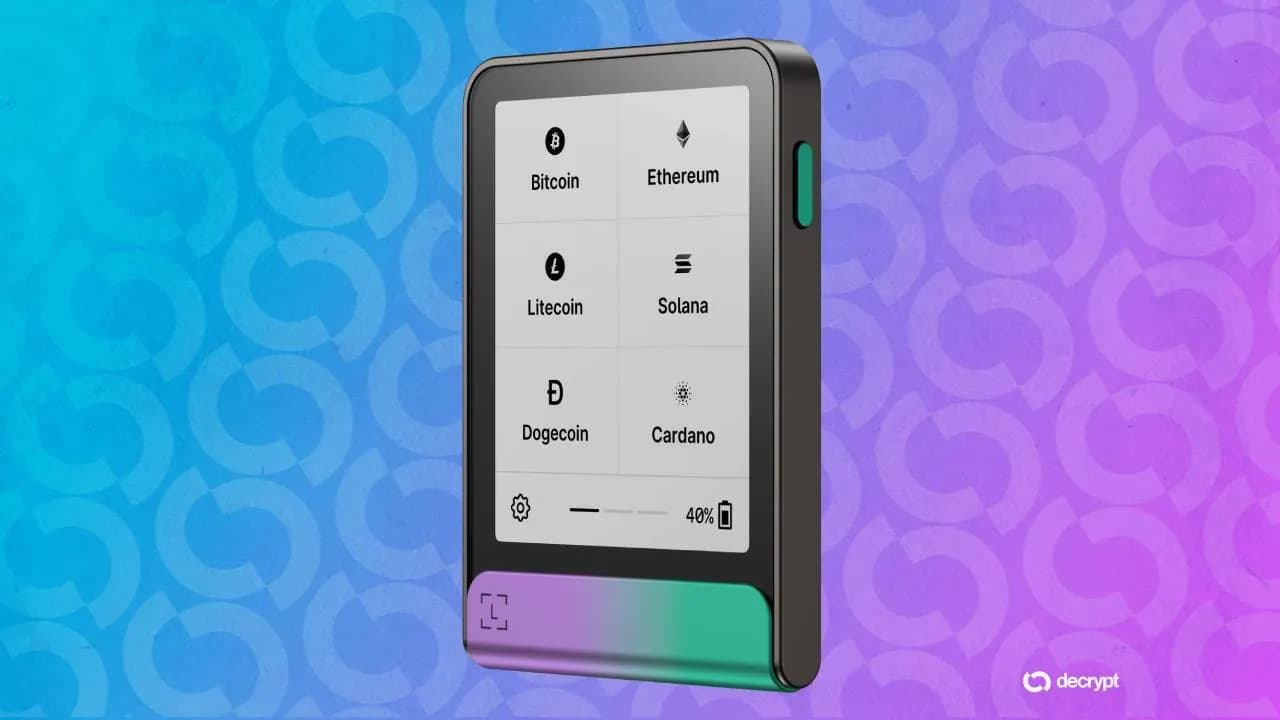
Ledger hardware wallets solve this by keeping your private keys on a dedicated chip that never connects to the internet. Every transaction requires physical confirmation on the device. Even if your computer is fully compromised, an attacker cannot sign transactions without pressing the buttons on your Ledger.
This guide covers setting up Ledger for Solana, storing SOL and SPL tokens, signing DeFi transactions, choosing between Ledger models, and the mistakes that still get hardware wallet users drained.
Why Hardware Wallets Matter for Solana
The Solana ecosystem has a drainer problem. Malicious dApps exploit the speed and low cost of Solana transactions to execute multi-step drain attacks in seconds:
- User connects a hot wallet to a fake site
- Site requests a transaction approval that looks like a simple token transfer
- The actual transaction includes hidden instructions: token approvals, SOL transfers, NFT listings at zero price
- Transaction confirms before the user can react
- Follow-up transactions drain remaining assets within the same block
A hardware wallet interrupts step 3. When you connect a Ledger to a dApp, every transaction displays its details on the Ledger screen. You physically review what you are signing before pressing confirm. The transaction cannot execute without that physical action.
This does not make you invincible. If you blindly confirm a malicious transaction on your Ledger, you still get drained. The point is that the Ledger creates a mandatory review step that software wallets cannot enforce.
Setting Up Ledger with Solana
Initial Device Setup
- Unbox and connect. Connect your Ledger to your computer via USB. If using a Nano X, you can also set up via Bluetooth.
- Install Ledger Live. Download Ledger Live from ledger.com (verify the URL carefully -- phishing sites mimic the download page). Create a PIN code on the device.
- Write down your recovery phrase. The Ledger generates a 24-word seed phrase. Write it on the included recovery sheet. Never photograph it, never type it into any website or app, never store it digitally. This phrase is the master key to all your assets.
- Install the Solana app. In Ledger Live, go to Manager, search for Solana, and install the app. This takes about 30 seconds.
- Create a Solana account. In Ledger Live, go to Accounts, click Add Account, select Solana, and follow the prompts. The Ledger will derive your Solana address from your seed phrase.
Phantom is the most popular Solana wallet and has native Ledger support:
- Open Phantom and click the menu icon (top-left)
- Select "Add / Connect Wallet"
- Choose "Connect Hardware Wallet"
- Select "Ledger" and pick your connection method (USB or Bluetooth for Nano X)
- Phantom will display your Ledger-derived Solana addresses. Select the one you want to use.
- Your Phantom now shows your Ledger account. All transactions will require physical confirmation on the device. If you are still learning Phantom itself, our Phantom wallet guide covers setup, swaps, and the features worth knowing before you pair it with hardware.
Solflare also supports Ledger natively:
- Open Solflare and click "Access Wallet"
- Select "Using Ledger" as the access method
- Connect your Ledger via USB
- Open the Solana app on your Ledger
- Solflare detects the device and displays your address
Both wallets let you view balances and initiate transactions from the browser, with the Ledger handling all signing. If Solflare is new to you, our complete Solflare wallet setup and DeFi guide covers the software side before you pair it with a Ledger.
Storing SPL Tokens and NFTs
Once your Ledger-connected wallet is set up, SPL tokens and NFTs work the same way as with a hot wallet -- you just need to confirm token-specific transactions on the device.
Receiving SPL tokens: Send any SPL token to your Ledger-derived Solana address. The first time you receive a new token type, a token account is automatically created (this costs a small amount of SOL for rent). Your tokens appear in Phantom or Solflare immediately.
Receiving NFTs: Same process. Send an NFT to your Ledger address. Phantom and Solflare both display NFTs in their collection views. Compressed NFTs (cNFTs) work too -- they show up in compatible wallets regardless of whether you use a hardware wallet.
Managing token accounts: Over time, you may accumulate dozens of empty token accounts from tokens you have sold or transferred. Each one locks up approximately 0.002 SOL in rent. You can close empty accounts to reclaim this SOL -- Phantom has a "Close Account" option on each token, which requires a Ledger confirmation.